WALLSHARK INSTRUCTIONS
HOW TO USE THE WALLSHARK DRYWALL REPAIR TOOL
A 2-inch post is required to cover WallShark. Don’t use it if there is a stud behind the post.
Remove the wall anchor cover post, then remove debris and all loose particles from the wall surface.
Mark the exact center of the desired bracket location and drill a hole with the included drill bit.
Clear debris from the hole, then insert the Wall Guide and attach it with the included screws.
Insert the Wall Driver into the drill, then twist the Wall Sander onto the Wall Plug.
Insert it into the guide hole and keep the Wall Sander flat on the surface while sanding lightly for 3-4 seconds.
Remove the Wall Sander and twist the Wall Cutter on snugly. With light force, cut a hole until the tabs meet the wall surface.
Keeping the drill very straight, insert it into the hole and drive in with medium force until it is flush with the wall.
Insert the Single Mount Plug for a single-hole mount (only if needed) or skip to step 10.
Find the proper alignment for your bracket and drive the two screws in, stopping ¼-inch from the wall.
Align your bracket by rotating it counter-clockwise only (limit rotations).
Re-attach the post to the bracket and secure it with the screwdriver.
Note: Wallshark is for use on drywall or sheetrock repairs. Do not use for repairs of brick, tile, lath, plaster, or plasterboard walls. If you find a stud within 1 inch of your bracket center point, you will need to chisel a ½ portion of the stud away. Further, do not use if a stud or other solid surface is present below drywall at the bracket center point. Wallshark is approximately 1.8 inches wide when installed. Make sure your cover post will completely cover Wallshark’s dimensions.

1.
SINGLE MOUNT PLUG
Snaps in place for using a single center mount only. Once inserted it cannot be removed.

2.
WALLSHARK DRIVER
Attaches to your drill. Slides onto the center of the WallShark parts to perform the repair.

3.
INCLUDED SCREWS
8 screws are included. Only use the supplied screws to avoid damage and for best results.

4.
WALL PLUG
Threaded plug with rotating internal screw boss array for attaching bracket.

5.
WALL CUTTER
Cuts through drywall and stops when the cut is complete creating a hole for the wall plug.

6.
WALL SANDER
Removes layers of paint and drywall texture to help the wall plug lay flush to the surface.

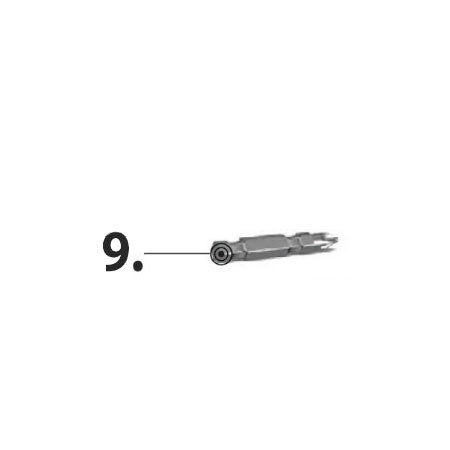
7.
WALL GUIDE
Guides your drill to keep the WallShark perpendicular & straight during installation.